
Service Essentials
Table requests
The guest taps a button on the menu and the venue knows what they need: the server, water, the check. We build the five classics, give “The check” its follow-up choices, and walk through all their settings.
All the points of the film 5 steps · 3:14
What you will learn
- Creating request types with an icon
- Follow-up options: “The check” → cash or card
- Where they appear on the menu and how they reach you
Step by step
-
1
The Requests page
Left menu → Requests: the quick actions guests can send from the table — call the waiter, ask for the bill. “+ New action” opens a three-step wizard, the name in every language first.

-
2
Active from birth
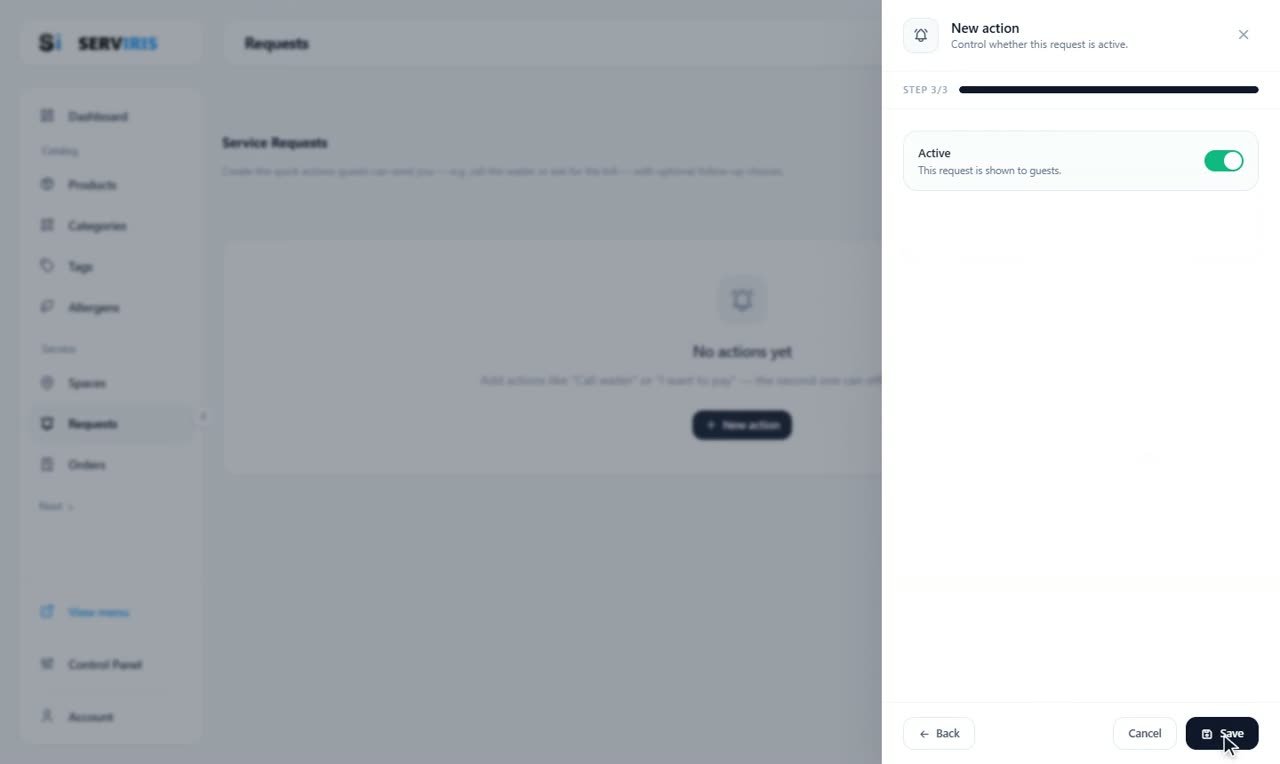
The final step is the switch that matters: Active — this request is shown to guests. Leave it on, Save, and the action takes its place in the list.
-
3
The first three
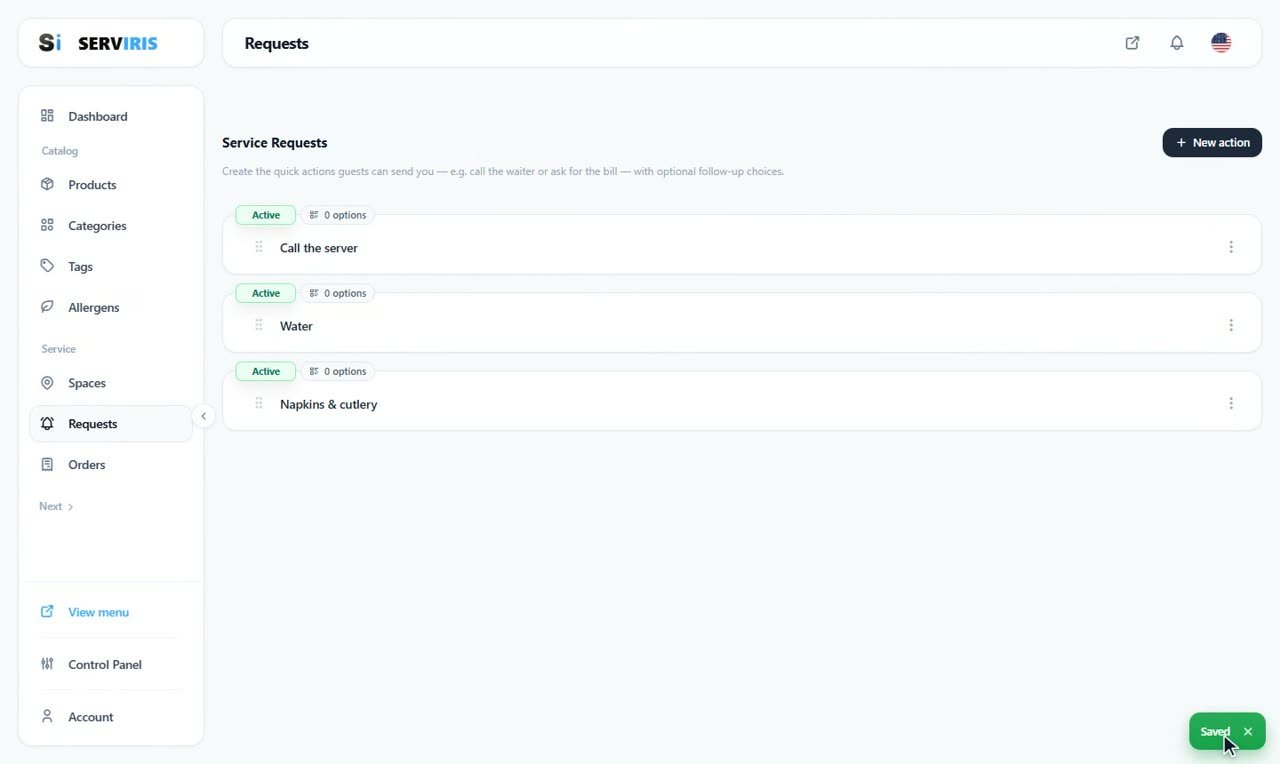
Call the server, Water, Napkins & cutlery — each Active, each showing its options count (0, for now). The rows drag to reorder, and their order is what guests see.
-
4
Everything about a row
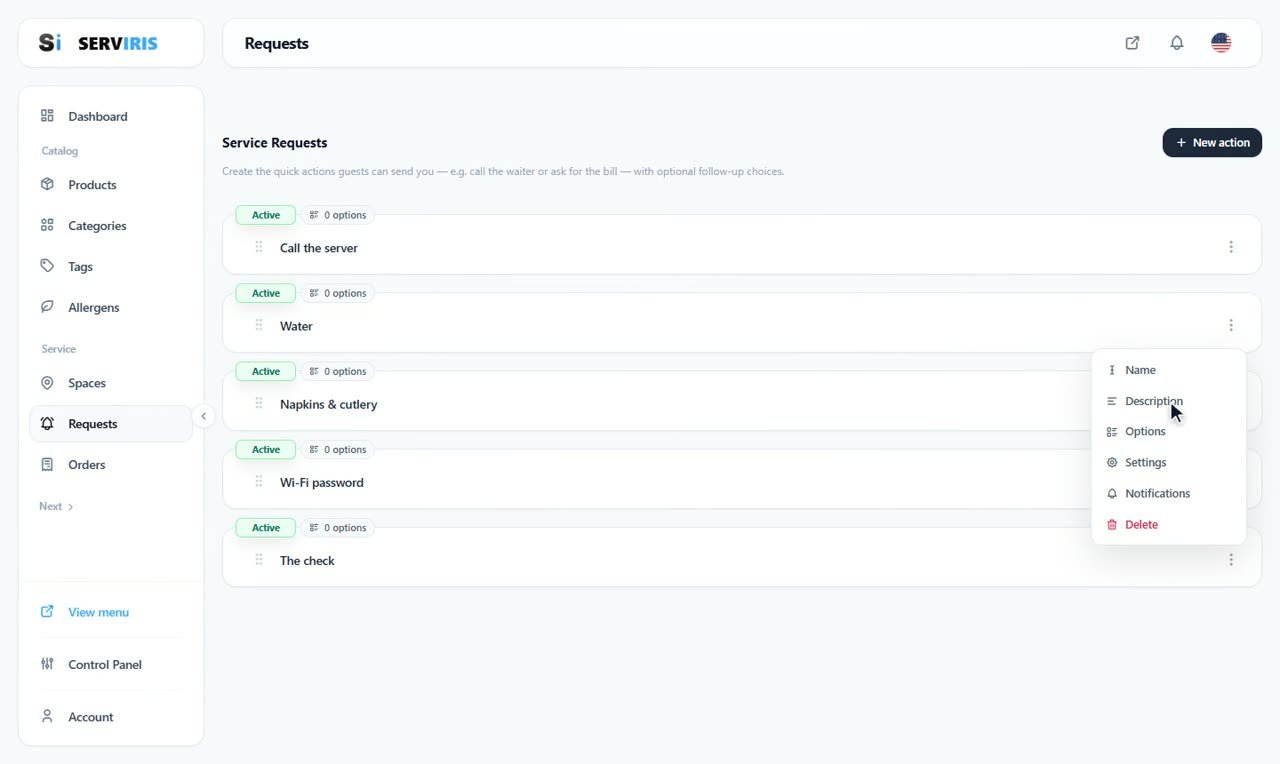
The actions menu holds the rest: Name, Description, Options, Settings, Notifications, Delete. The full set is in — Wi-Fi password and The check complete the five.
-
5
Follow-up options
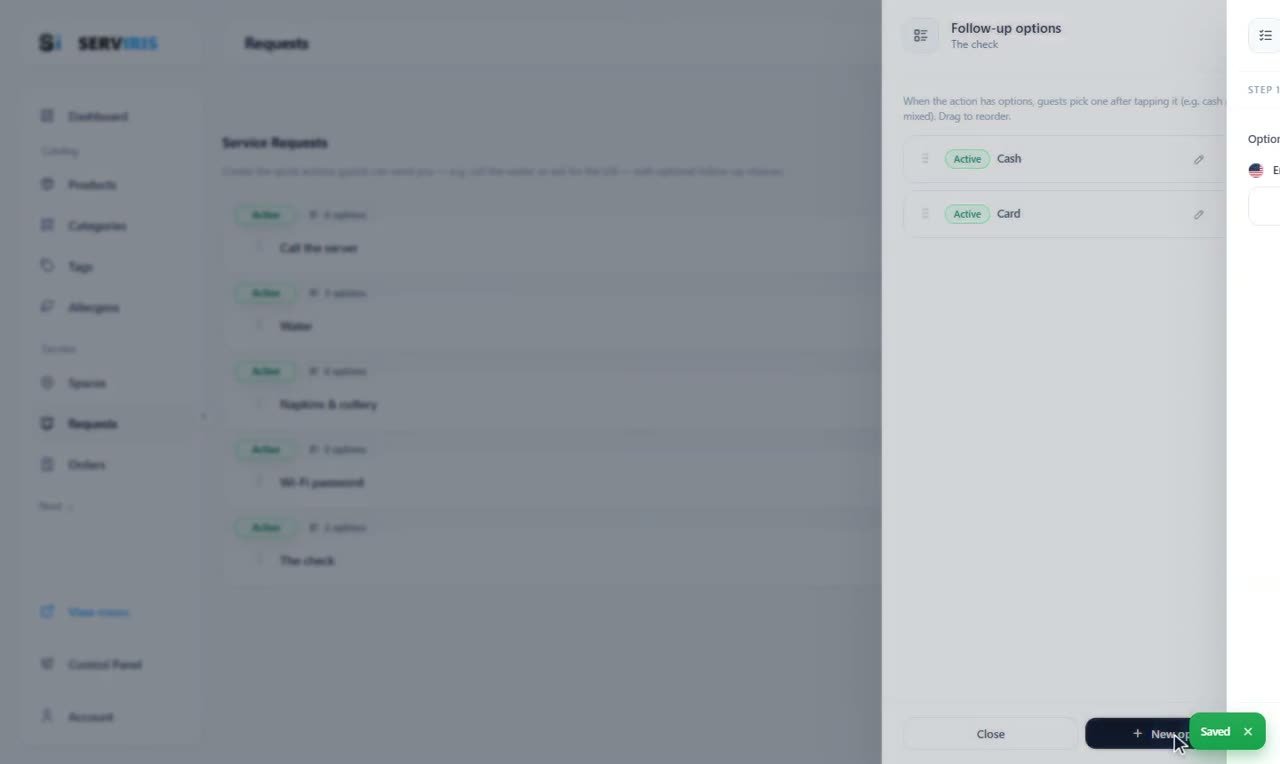
“The check” gets choices: guests pick one after tapping — Cash or Card — so the request arrives already specific. “+ New option” adds more, dragging reorders, and the same panel serves “Water” too.
Good to know
Requests only appear on menus opened from a space's QR — so you always know which table wants you.